|
Introducing the new Horde 5!
Horde 5 is the new webmail interface with Sentex, featuring multiple functions to meet your needs. In this introduction to Horde 5, we will be going through
the different "Filters" and "Preferences" to customize how your email account operates. To start off, you can find Filters under the Mail menu bar at the top.
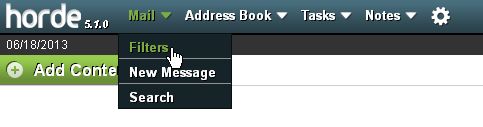
Horde 5 Filters
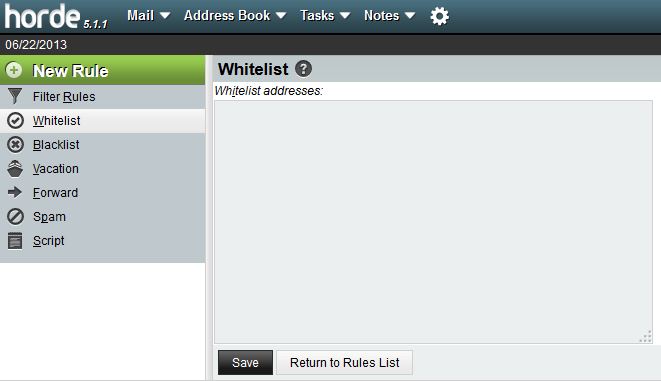
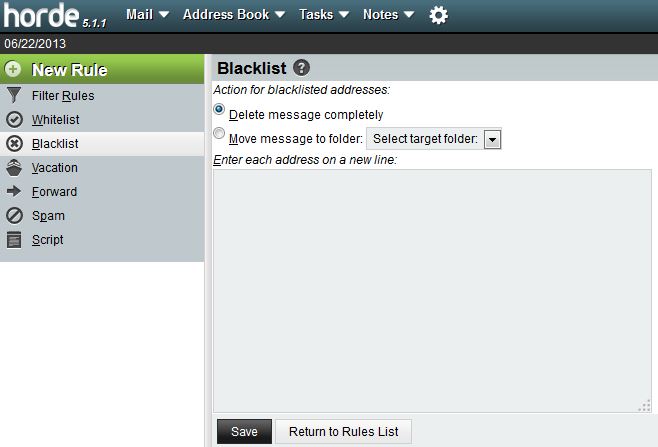
Whitelist and Blacklist
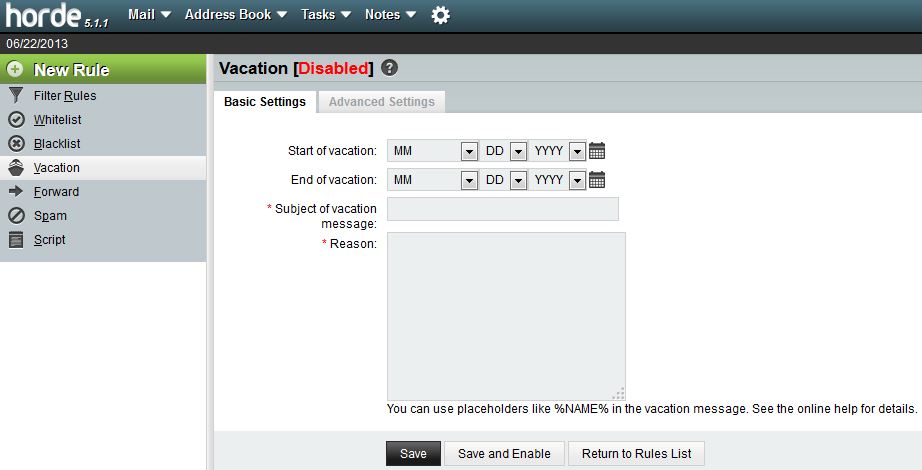
Setting Vacation Notices
Forwarding
Preferences
Display Preferences
Viewing Emails
Deleting and Moving messages
Whitelist and Blacklist
Once you are in the Filters page, which can be found under Mail, you will see Whitelist as the first filter. In here, you can list
all the approved email accounts, separating them with a comma.
The blacklist filter works the same way, but you have the option to delete the messages or move them to a specific folder.
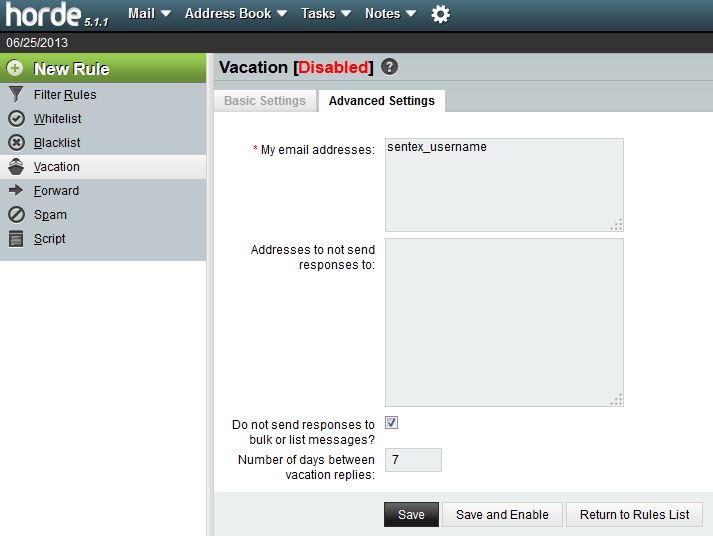
Setting Vacation Notices
Within the basic settings for Vacation notices, you can specify the length of the vacation and the add in your automated message. Remember to
click Save and Enable since this setting is disabled by default.
Advanced settings have additional options such as having a list of email addresses that will not receive the vacation notice and setting number of days to wait before sending an autoresponse to an address that has already received one.
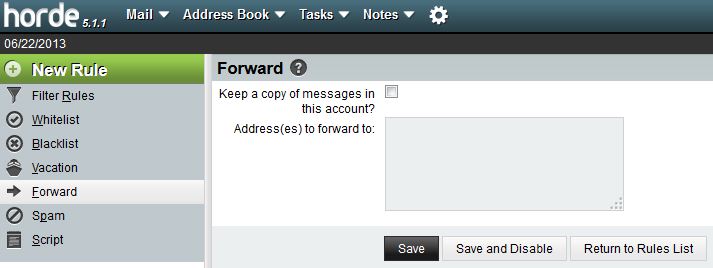
Forwarding
Just like forwarding in the past, you can set the forwarding email address here and if you would like to keep a copy of messages on the original account.
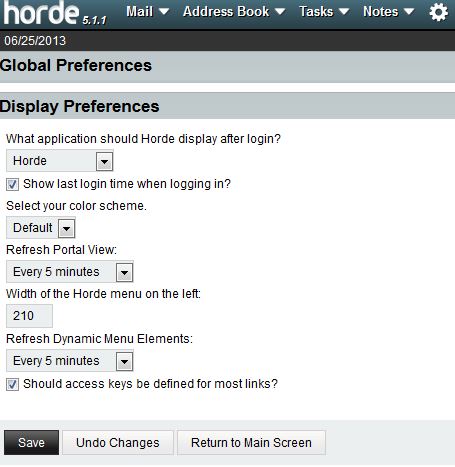
Display Preferences
Display Preferences can be found under Global Preferences. In this page, you can set what application will show up once logged in.
Selecting Mail will display your inbox at login, eliminating the extra step of clicking Mail at the top menu bar.
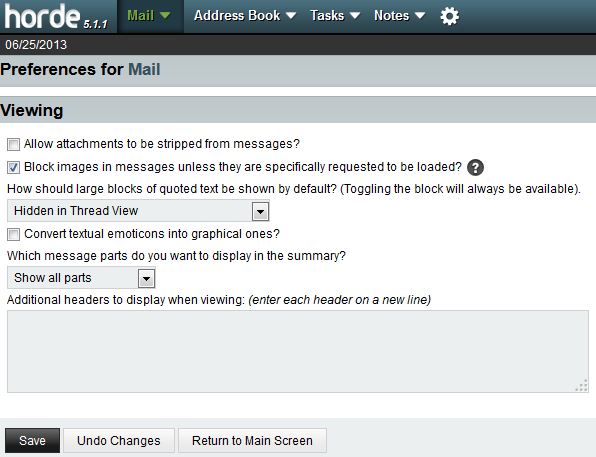
Viewing Emails
This page can be found under Mail Preferences and has settings specific to attachments, displaying parts within an email, and changing textual
emoticons into graphical ones. Advance Preferences can be found at the top right corner of this page, which will have options such as dimming signatures and sending read receipts.
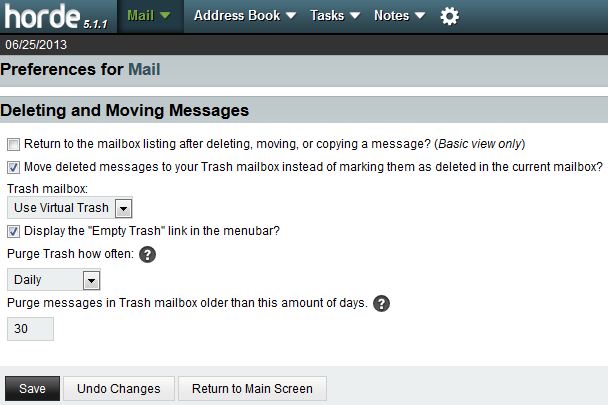
Deleting and Moving messages
After selecting the option "Move deleted messages to your Trash mailbox instead of marking them as deleted in the current mailbox?" and clicking Save, you will see the following settings.
Here you can specify where deleted messages go along with enabling the Empty Trash link. You can also set how often Trash items are purged. By default, messages in the Trash mailbox are purged after 30 days.
|
