|
|
 |

Microsoft Windows Mail
-
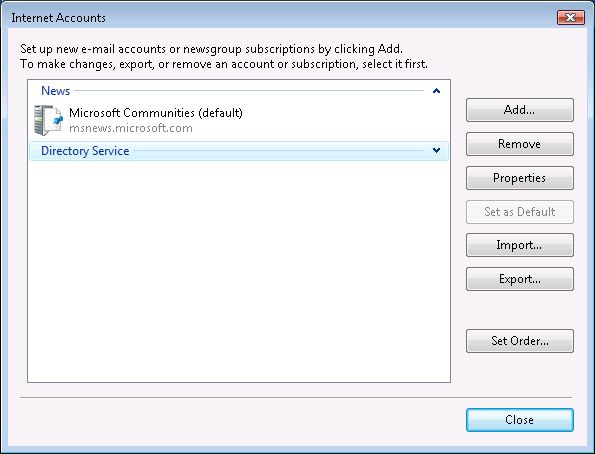
Open Windows Mail, click on the “ Tools”
menu, and select the “ Accounts...” option.
The following window will open:
-
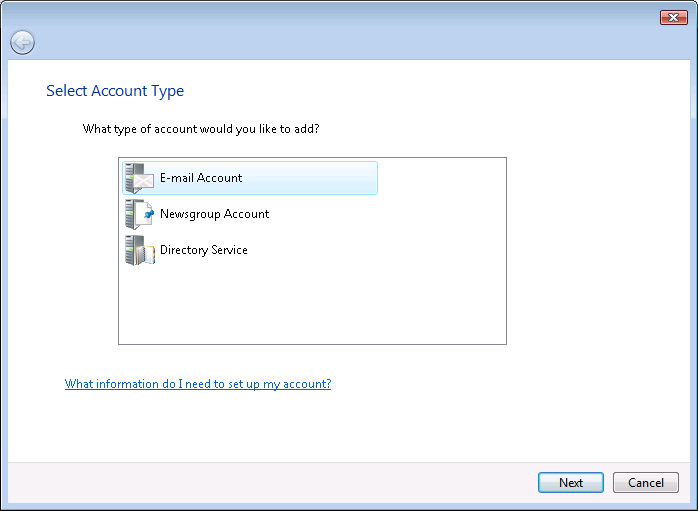
Click on the “ Add” button. The "E-Mail Account" option should already be selected. Click "Next"
-
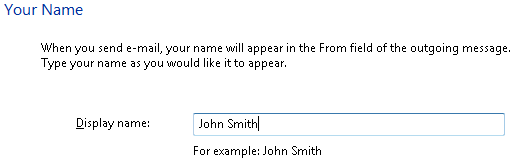
You will be asked to enter your full name. This is the name that e-mail messages sent with Windows Mail will appear to be from.
In this case, John Smith. Click "Next".
-
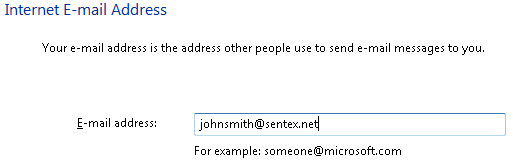
Next you will be prompted to enter your e-mail address. This is your Sentex userid followed by @sentex.net. Then click
"Next" to continue.
-
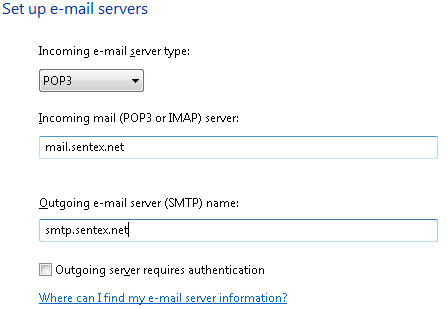
To set up your e-mail servers, set your incoming mail server as a POP3 or
IMAP server. In the first box, enter mail.sentex.net as your incoming mail server. For your outgoing mail server,
enter smtp.sentex.net. Then click "Next" to continue.
-
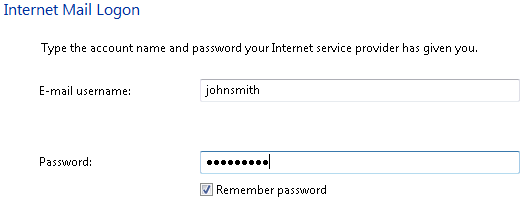
Next you need to enter your account information. The first field is your account name – this is your Sentex userid, the
portion of your e-mail address before the @ symbol. In addition, you will need to enter your password here. Click "Next".
-
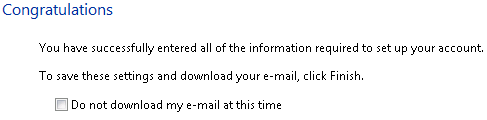
You will see the confirmation screen like the following... Click on Finish to save your account settings.
-
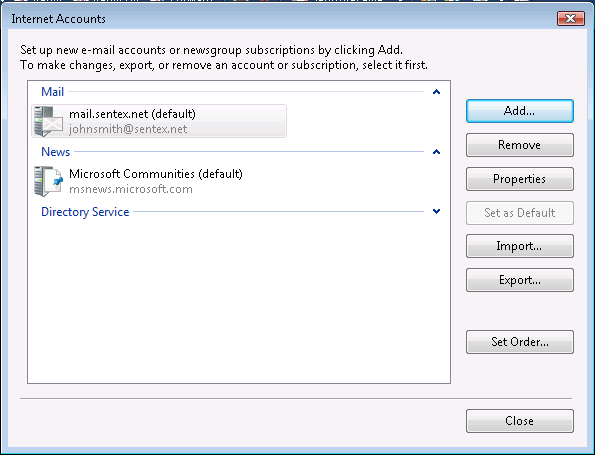
You will now be brought back to the Internet Accounts screen. You should see your newly created account in the list. You may
now click "Close" to return to Windows Mail.
-
Once you have been returned to the main Windows Mail screen, simply click on the Send/Receive button to retrieve your
Sentex mail.

Congratulations! You have now set up Windows Mail as your
Sentex Communications e-mail client.
|
|
